By default SSH connections are normally established through Port 22 (TCP). The most advantage of using its default SSH-2 protocol (compared to VNC) is the encrypted connection of a AES algorithm along with a 128-bit key length. Thus, it is generally recommended to prefer using SSH instead of VNC!
In Linux you should consider to use the onboard software package ‘iptables’, which comes with the initial installation on most distributions by default.
There are two advantages of using iptables: First of all the required software package is installed by default on most distributions of Linux. Furthermore it is compatible to any Linux distribution (Ubuntu, Debian, CentOS etc.) without restrictions. Feel also free to define IPv4 and IPv6 rules corresponding to your own needs.
Before configuring our firewall there are no rules defined. To check this, use this command:
iptables -LThe output will look similar to this:
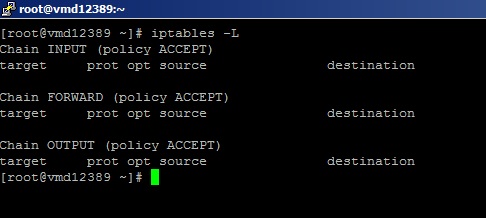
As you can see, currently there are no rules defined. The Software-Firewall will not block anything.
In order to add firewall rules, use the following syntax:
iptables
Here’s an example of how to use the iptables command to allow incomming traffic at port 80
iptables -A INPUT -p tcp --dport 80 -j ACCEPTHere is an example script which will open the most used ports on your Linux server:
#!/bin/bash

 # Delete the current firewall setup:
iptables -F

 # Define default rules for all chains:
iptables -P INPUT DROP
iptables -P FORWARD DROP

 # Allow incoming/outgoing localhost frames for tests (e.g.  Webserver, Mailserver):
iptables -A INPUT -d 127.0.0.1 -j ACCEPT
iptables -A OUTPUT -s 127.0.0.1 -j ACCEPT

 # Allow loopback frames for the internal process management:
iptables -A INPUT -i lo -j ACCEPT

 # Allow incoming/outgoing related-established connections:
iptables -A INPUT -m state --state RELATED,ESTABLISHED -j ACCEPT
iptables -A OUTPUT -m state --state RELATED,ESTABLISHED -j ACCEPT

 # Allow incoming PING-Requests:
iptables -A INPUT -p icmp -j ACCEPT

 # Allow incoming SSH connections:
iptables -A INPUT -p tcp --dport 22 -j ACCEPT

 # Allow incoming HTTP/HTTPS requests:
iptables -A INPUT -p tcp --dport 80 -j ACCEPT
iptables -A INPUT -p tcp --dport 443 -j ACCEPT

 # Allow incoming DNS requests:
iptables -A INPUT -p udp --dport 53 -j ACCEPT
iptables -A INPUT -p tcp --dport 53 -j ACCEPT
To use this script login to your Linux server as root and create a shellscript with this command:
nano firewall.shNow paste in the content shown above.
Save the file with [CTRL] + O and exit the editor with [CTRL] + X.
Make the script executeable with this command:
chmod +x firewall.shTo run the script and open the ports provided by the script, use the following command:
./firewall.shPlease check all port numbers corresponding to your own needs! If you need to change existing rules or to add further rules (e.g. Mail-Service or FTP), feel free to add them into the script.
Once you have modified your bash script corresponding to your own needs, feel free to copy your firewall script into a regular text file and save the file as “firewall.sh”. Afterwards, make the script executable and run it as follows:
If you are going to use our sample script, you should get the following output using the iptables -vL command:
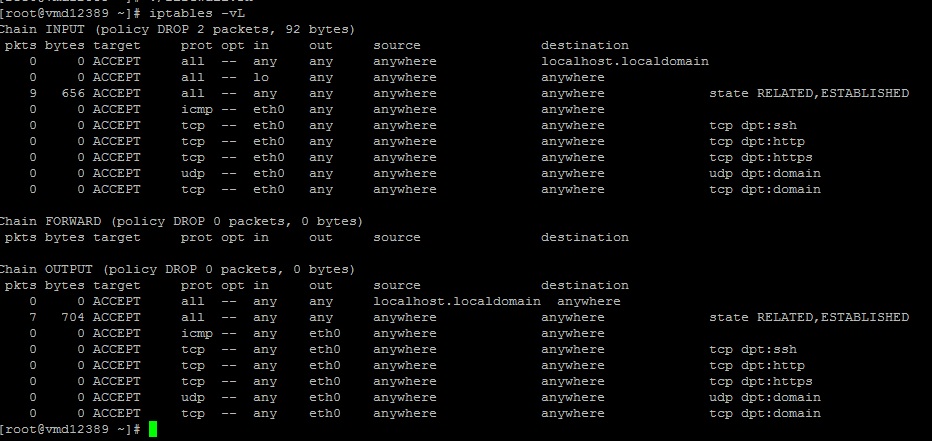
Please be generally informed, that all firewall rules will not be added permanently in this way! After a server reboot, every rule would have to be set manually again.
Thus, in order to set them permanently, please run the following commands depending on your own OS:
yum install -y iptables-services
systemctl stop firewalld
systemctl mask firewalld
systemctl enable iptables.service
systemctl -t service | grep iptables
/usr/libexec/iptables/iptables.init save
If you need to update your IPv4/IPv6 firewall setup, please modify the following files:
/etc/sysconfig/iptables
/etc/sysconfig/ip6tables apt-get install iptables-persistent netfilter-persistent

If you need to update your IPv4/IPv6 firewall setup, please modify the following files:
/etc/iptables/rules.v4
/etc/iptables/rules.v6
You can also save your currently configured firewall rules if you have not saved them to the above files with this command:
iptables-save > /etc/iptables/rules.v4 && ip6tables-save > /etc/iptables/rules.v6Please also make sure that the default network identifier (eth0) matches to the system network device. Maybe you will have to update the network interface, if required (e.g. Ubuntu 18 – Netplan environment).
Feel free to check it shortly on your server system as follows:

We strongly recommend to create a backup of the current firewall setup in order to be able to immediately restore the previous configuration (e.g. connection locks).
To save your current IPv4/IPv6 firewall setup into a backup file, feel free to use the following commands:
iptables-save > /root/iptables_rules
ip6tables-save > /root/ip6tables_rules
To restore the backup files, please use:
iptables-restore < /root/iptables_rules
iptables-restore < /root/ip6tables_rules
If you need to re-connect to your server due to a misconfigured firewall setup, you could use your VNC connection for your VPS in order to be able to restore a previous configuration:
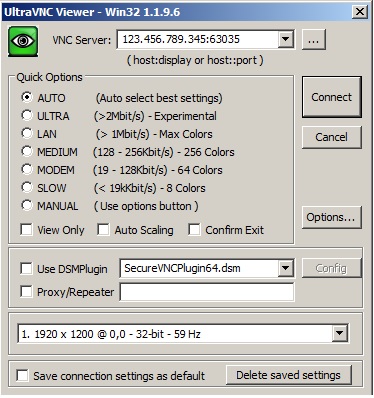
For more information how to use VNC, please have a look at our VNC tutorial here.
If you have a Dedicated Server, it is unfortunately not possible to use VNC access, so you will have to reboot your server into the Linux rescue system in order to get access again.
If you are a Contabo Customer this can be performed within your customer control panel.
Please find below more information how to handle the Linux rescue mode:
More information about the Linux rescue mode can be found here.
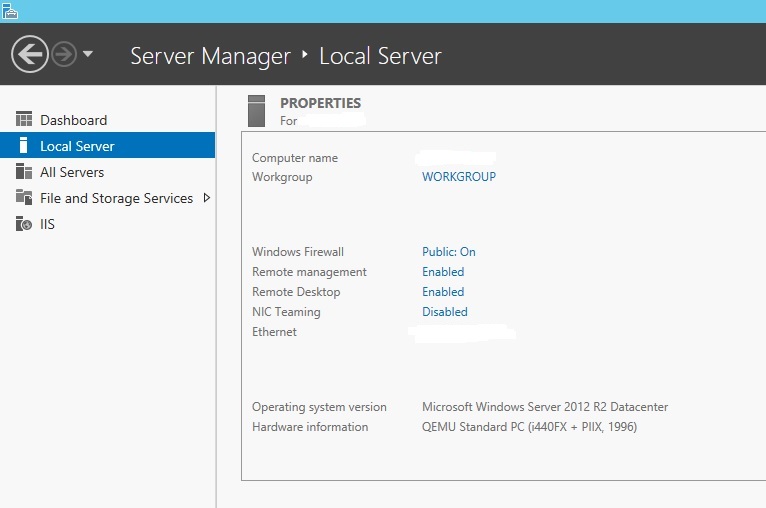
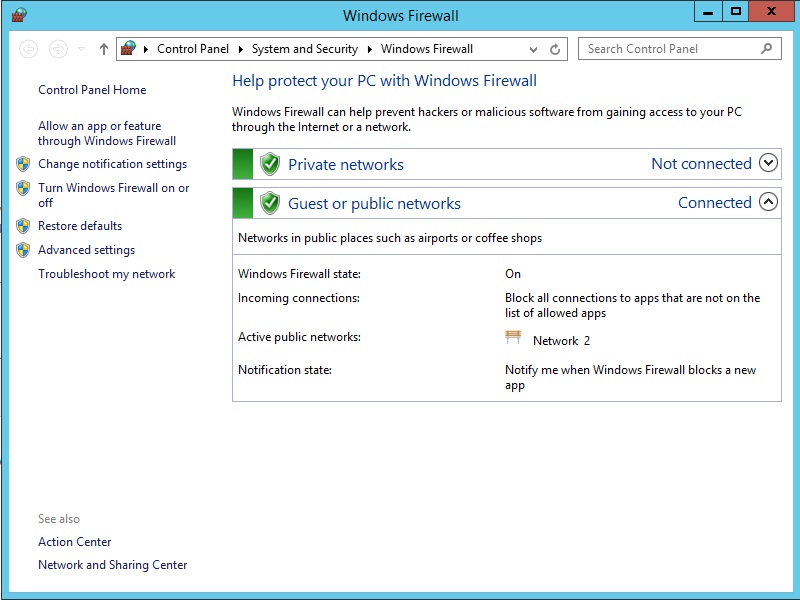
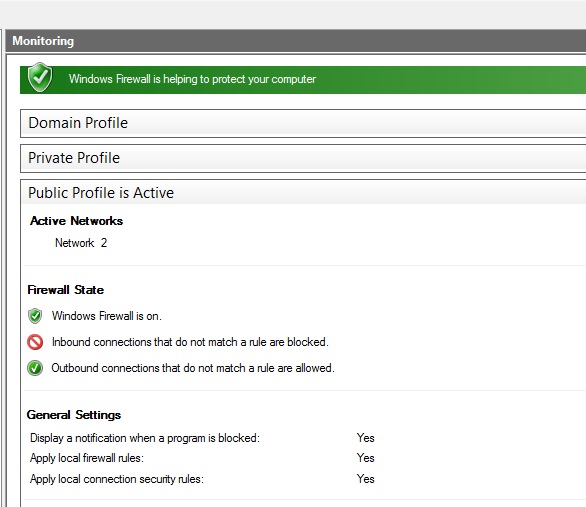
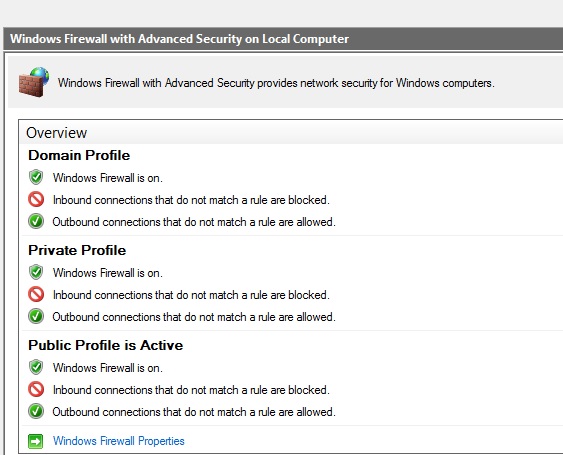
The Windows Firewall can be found within the Server-Manager settings as follows:
Windows-Firewall -> Public: On-> Advanced settings
Now you can modify your firewall rules due to your own needs.
The most difference between Linux and Windows is related to the fact, that Windows provides a basic firewall configuration by default. In most of the cases, it should be enough to keep the default setup or to modify existing rules.
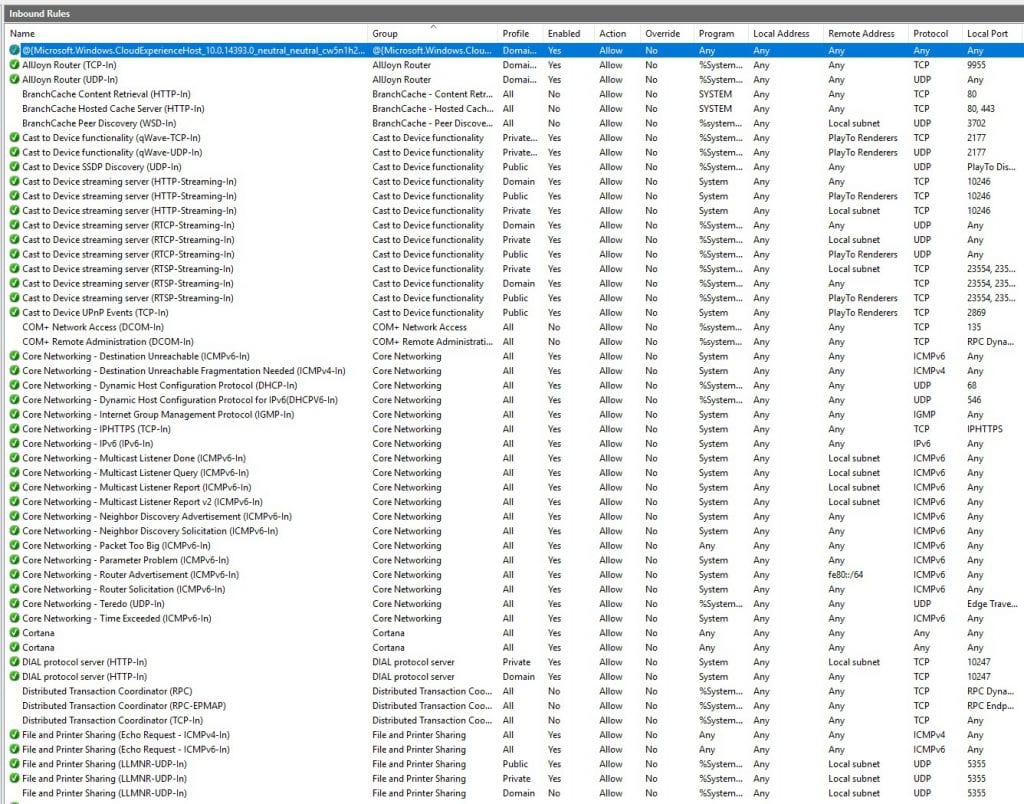
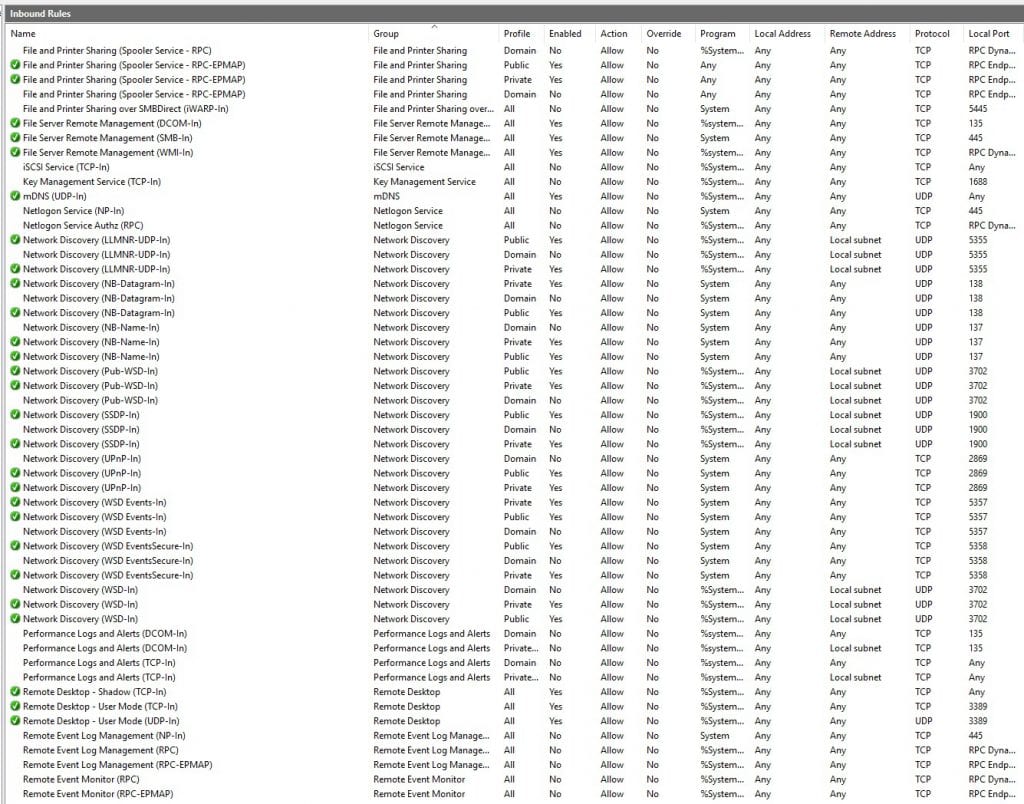
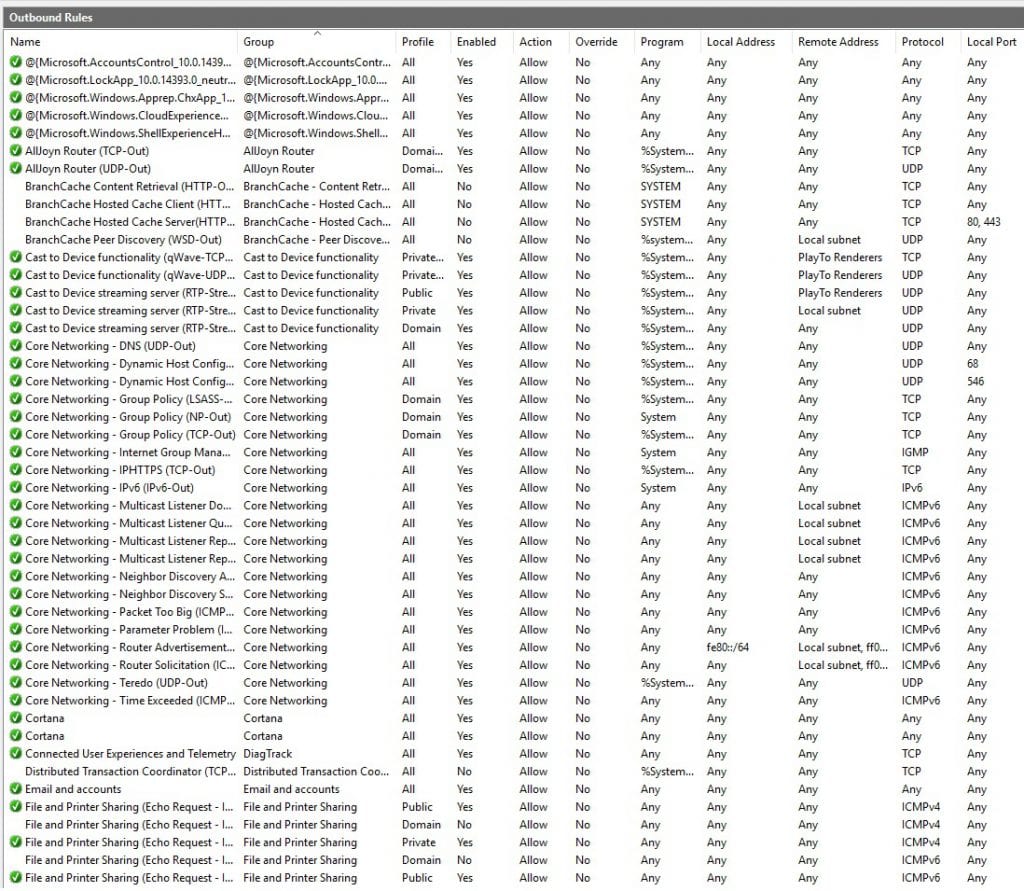
All of the active firewall rules are marked with a green tag. The rest of the rules (without any tag) do need to be activated, if required. Feel free to customize the firewall setup due to your own needs.
For example, if you would like to change your RDP port to another one instead of the default “3389”, you will have to modify the following two firewall rules within the “Inbound rule” chain as follows:
Remote Desktop - User Mode (TCP-In)
Remote Desktop -  User Mode (UDP-In)
Afterwards you have to modify the affected Windows registry entry to the new value. However, in order to prevent disasters, please make sure to create a full backup of the registry beforehand:
WINDOWS button + R (keyboard command)
regedit
File >> Export
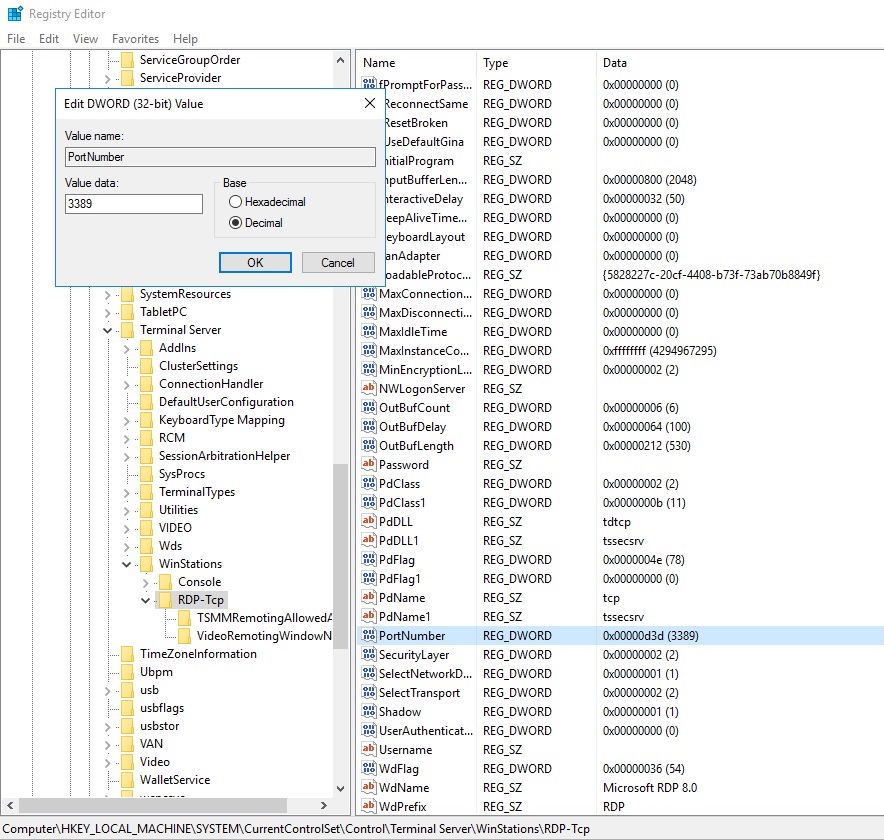
Now you can navigate to the following path in order to set the new RDP port number:
HKEY_LOCAL_MACHINE\System\CurrentControlSet\Control\Terminal Server\WinStations\RDP-Tcp\PortNumber